
If you’re self-hosting n8n on Coolify, you already know the trade-off you signed up for: full control over your data, and full responsibility for keeping the thing running. Updates are where that responsibility usually shows up first — one day you open n8n, see a “new version available” banner, and have to decide whether to click update or leave it alone for another three weeks because you’re scared of breaking something.
Good news: updating n8n on Coolify is genuinely one of the safer update flows in self-hosted land, if you do it in the right order. This guide walks through the exact process, the mistakes that actually cause downtime, and how to roll back if something goes sideways. Let’s dive in to update n8n on Coolify
Table of Contents
Why n8n Updates Actually Matter (Not Just “New Features”)
It’s tempting to treat n8n updates like an app store nag screen you can ignore forever. Don’t. Here’s what you’re actually opting into by staying behind:
- Security patches. n8n ships fixes for credential handling, expression sandboxing, and dependency vulnerabilities on a near-weekly cadence. Falling multiple versions behind means running with known, disclosed vulnerabilities.
- Node reliability fixes. A steady stream of updates fix broken integrations — things like pagination bugs in Supabase nodes, retry logic in HTTP Request nodes, or webhook nodes that silently stop firing after a certain edge case. If a workflow of yours “randomly stopped working,” there’s a real chance the fix already shipped and you just haven’t pulled it.
- AI node development. If you’re building anything with the AI Agent node, memory nodes, or the newer model-specific nodes (Claude, Gemini, Groq, Perplexity), this is the fastest-moving part of n8n right now. Staying current matters more here than almost anywhere else in the platform.
The flip side: n8n ships fast, sometimes multiple releases a week across its active branches. That’s exactly why you don’t want to update blindly every single time a banner appears — you want a repeatable, low-risk process. That’s what the rest of this guide is.
Before You Touch Anything: The 5-Minute Pre-Update Checklist
Most “n8n update broke my instance” horror stories trace back to skipping this step. Don’t skip this step.
1. Check your current version
In your n8n editor, click on settings icon (bottom left) → Personal. This tells you your current version and how far behind you are.
2. Check the release notes for breaking changes
Head to n8n’s official changelog and scan everything between your current version and the latest. You’re specifically looking for anything flagged as a breaking change — these are rare but do happen, usually around node parameter renames or auth flow changes for specific integrations. If you have production workflows depending on a node that’s flagged, hold off and test in a staging instance first.
3. Note your current image tag
Open your n8n service in Coolify and check what image/tag you’re currently running. If you’re on :latest, you have no easy rollback target — more on why that matters below.
How to Update n8n on Coolify: Step-by-Step
Here’s the actual process.
Step 1: Open your n8n resource in Coolify
Log into your Coolify dashboard and navigate to the project containing your n8n instance. Click into the n8n service/resource.
Step 2: Go to the Configuration tab
Inside your n8n resource, click on Configuration. This is where Coolify exposes the deployment controls for that specific service.
Step 3: Open Advanced settings
Under Configuration, click Advanced. This is where the update controls live — separate from the general settings and environment variables tabs.
Step 4: Confirm your image tag is set correctly
Before pulling, glance at the image reference for your n8n service. If it’s set to n8nio/n8n:latest (or docker.n8n.io/n8nio/n8n:latest on newer setups), Coolify will grab whatever the current stable release is. If you want more control, this is where you’d pin a specific version instead (covered in the next section).
Step 5: Click “Pull Latest Images & Restart”
This is the button that does the actual work. When you click it, Coolify:
- Pulls the new image matching your configured tag
- Gracefully stops the running n8n container
- Starts a new container from the updated image
- Reattaches your existing volumes and environment variables — your workflows, credentials, and execution history stay intact

Step 6: Watch the deployment logs
Coolify opens a live log window during this process. Keep an eye on it. A healthy update finishes with the container reporting a successful start and passing its healthcheck. If you see repeated restart loops or errors in the log tail, stop and read the troubleshooting section below before doing anything else.
Step 7: Verify the update
Once the container’s back up, open your n8n instance and check What’s New again. It should now say you’re 0 versions behind. Test 1–2 of your most critical workflows manually to confirm nothing broke before walking away.
That’s it. No SSH session, no manual docker compose pull, no downtime beyond the few seconds it takes the container to restart.
Should You Use :latest or Pin a Specific Version?
This is the decision most self-hosters skip and later regret.
Running :latest means every time you click “Pull Latest Images & Restart,” you get whatever n8n’s current stable build is — no visibility into exactly what changed until after it’s already running. It’s convenient, but it also means you can’t cleanly roll back if a specific release causes a problem, because you don’t know what the “previous” tag actually was.
Pinning a version (e.g., n8nio/n8n:1.123.60 instead of n8nio/n8n:latest) means updates are a deliberate choice — you check the changelog, pick the version you want, update the tag in Coolify, then pull. This is the safer approach for anyone running client work, revenue-generating workflows, or anything where an hour of downtime actually costs money.
Our recommendation: if n8n is running business-critical automations, pin the version. If it’s a personal/experimental instance, :latest is fine.
n8n currently maintains two active lines in parallel — a 1.123.x branch and a newer 2.x branch — both still receiving regular patches. If you’re pinning versions, check which branch your workflows and community nodes were built against before jumping across major versions, since node behavior can shift between them.
Troubleshooting: When the Update Doesn’t Go Cleanly
Container stuck restarting / crash loop Almost always a database migration issue or a memory limit that’s too tight for the new version. Check the deployment logs for the specific error. If it’s a migration error, this is exactly why you took a backup — restore it, pin back to your previous working tag, and try the update again after checking n8n’s GitHub issues for that version.
Workflows show up but data/credentials are missing This means the new container isn’t mounted to your old volume — usually a Coolify configuration issue, not an n8n issue. Check your persistent storage settings in the resource’s Storages tab and confirm the volume path matches what it was before the update.
n8n loads but throws errors on save/execute Clear your browser cache first — the n8n editor is a SPA and sometimes serves a stale cached frontend against a new backend. If that doesn’t fix it, check whether any custom/community nodes you’re using have a compatibility note for the new version.
Update button greyed out or nothing happens Usually a Docker registry rate limit or connectivity issue on your VPS. Check your server’s outbound connectivity and try again in a few minutes.
Frequently Asked Questions
How often should I update n8n?
For most self-hosted setups, checking every 2–3 weeks is a reasonable cadence — frequent enough to stay within a few patches of current, infrequent enough that you’re not babysitting it daily. If a security advisory drops for your current version, update immediately regardless of schedule.
Will updating n8n on Coolify delete my workflows or credentials?
No, not under normal conditions. Coolify’s “Pull Latest Images & Restart” reattaches your existing persistent volume and environment variables to the new container. Your workflows, credentials, and execution history live in that volume (or your external database, if you’re using Postgres), not in the image itself.
Can I downgrade n8n if an update breaks something?
Yes, if you know the exact previous version tag. This is the main argument for pinning versions instead of running :latest — with a pinned tag, rolling back is just changing the tag back and pulling again. With :latest, you’d need to manually find and specify the older version number to roll back to.
Does Coolify update n8n automatically?
No. Coolify does not auto-update your application containers by default — you have to trigger the pull yourself via the Advanced tab. (This is separate from Coolify updating itself, which is a different setting entirely.) If you want scheduled updates, you’d need to build that automation yourself, e.g., via a cron job hitting Coolify’s API.
What’s the difference between “Restart” and “Pull Latest Images & Restart” in Coolify?
A plain restart just stops and starts your existing container on the image you already have — no new image is pulled. “Pull Latest Images & Restart” is the one that actually checks for and downloads a newer image before restarting. If you only click restart, you will not get the update.
Do I need to update my database (Postgres/SQLite) separately when I update n8n?
n8n handles its own internal database migrations automatically on startup after an update — you don’t run these manually. What you do need to do is make sure you have a backup before the update runs, since migrations are typically one-directional.
The Honest Alternative: Skip the Maintenance Entirely

If you’ve read this far, you now know how to update n8n on Coolify safely — but you also now know it’s a real process: checklists, changelogs, backups, log-watching, verification. Multiply that by every few weeks, for as long as you run n8n, and it adds up to real ongoing time that isn’t building your automations.
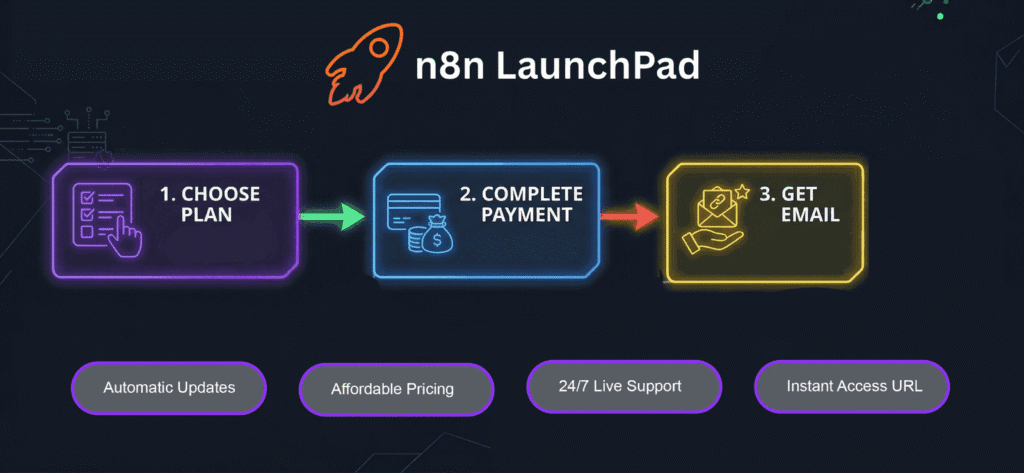
That’s the exact problem n8n LaunchPad exists to remove. It’s a fully managed, pre-deployed n8n instance — you get instant access via a link, with updates, uptime, and infrastructure handled for you. No VPS to patch, no Docker to babysit, no update banner staring at you every Monday. Plans start at $6/mo, positioned as the cheapest, easiest way into n8n without touching a terminal.
If self-hosting on Coolify is working for you, keep doing what this guide walked through — it’s a solid setup. But if you’re spending more time maintaining n8n than building in it, that’s worth noticing.